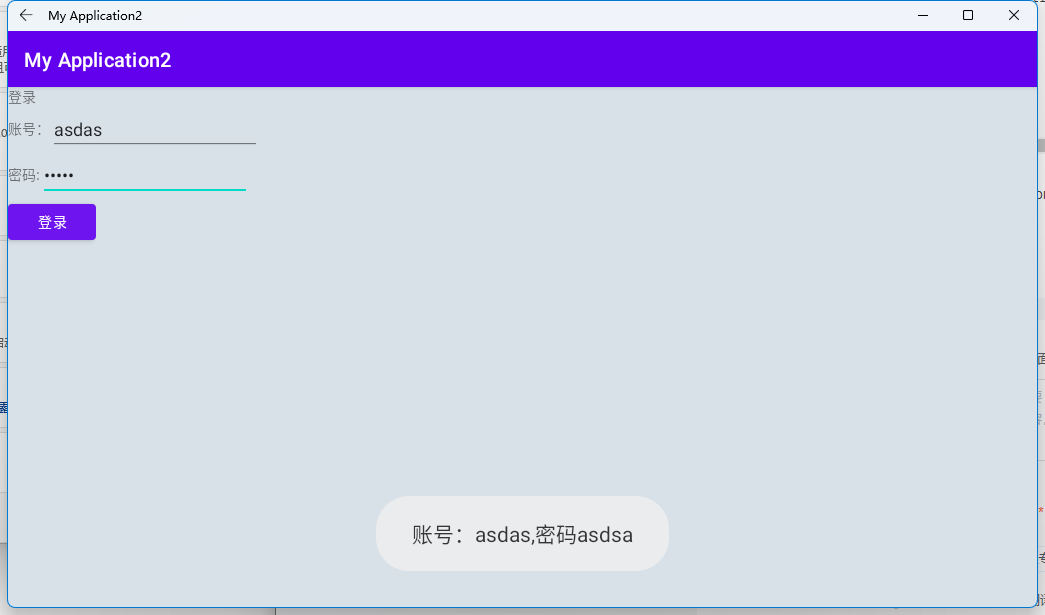
#第三周安卓作业,Toast的使用
碎碎念:因为整安卓子系统的原因,写的比较晚。子系统和模拟器不兼容,卸了模拟器。好像蓝叠5可以兼容,但我没成功。
这只是摆烂教程,真的要学习的话建议自己找点视频看,不要看我写的文章
第一遍创建项目


第二步编写layout布局,编写在layout文件夹里的xml文件。
layout是安卓负责前端显示的。类属于web里的html文件。都是通过标签设计页面
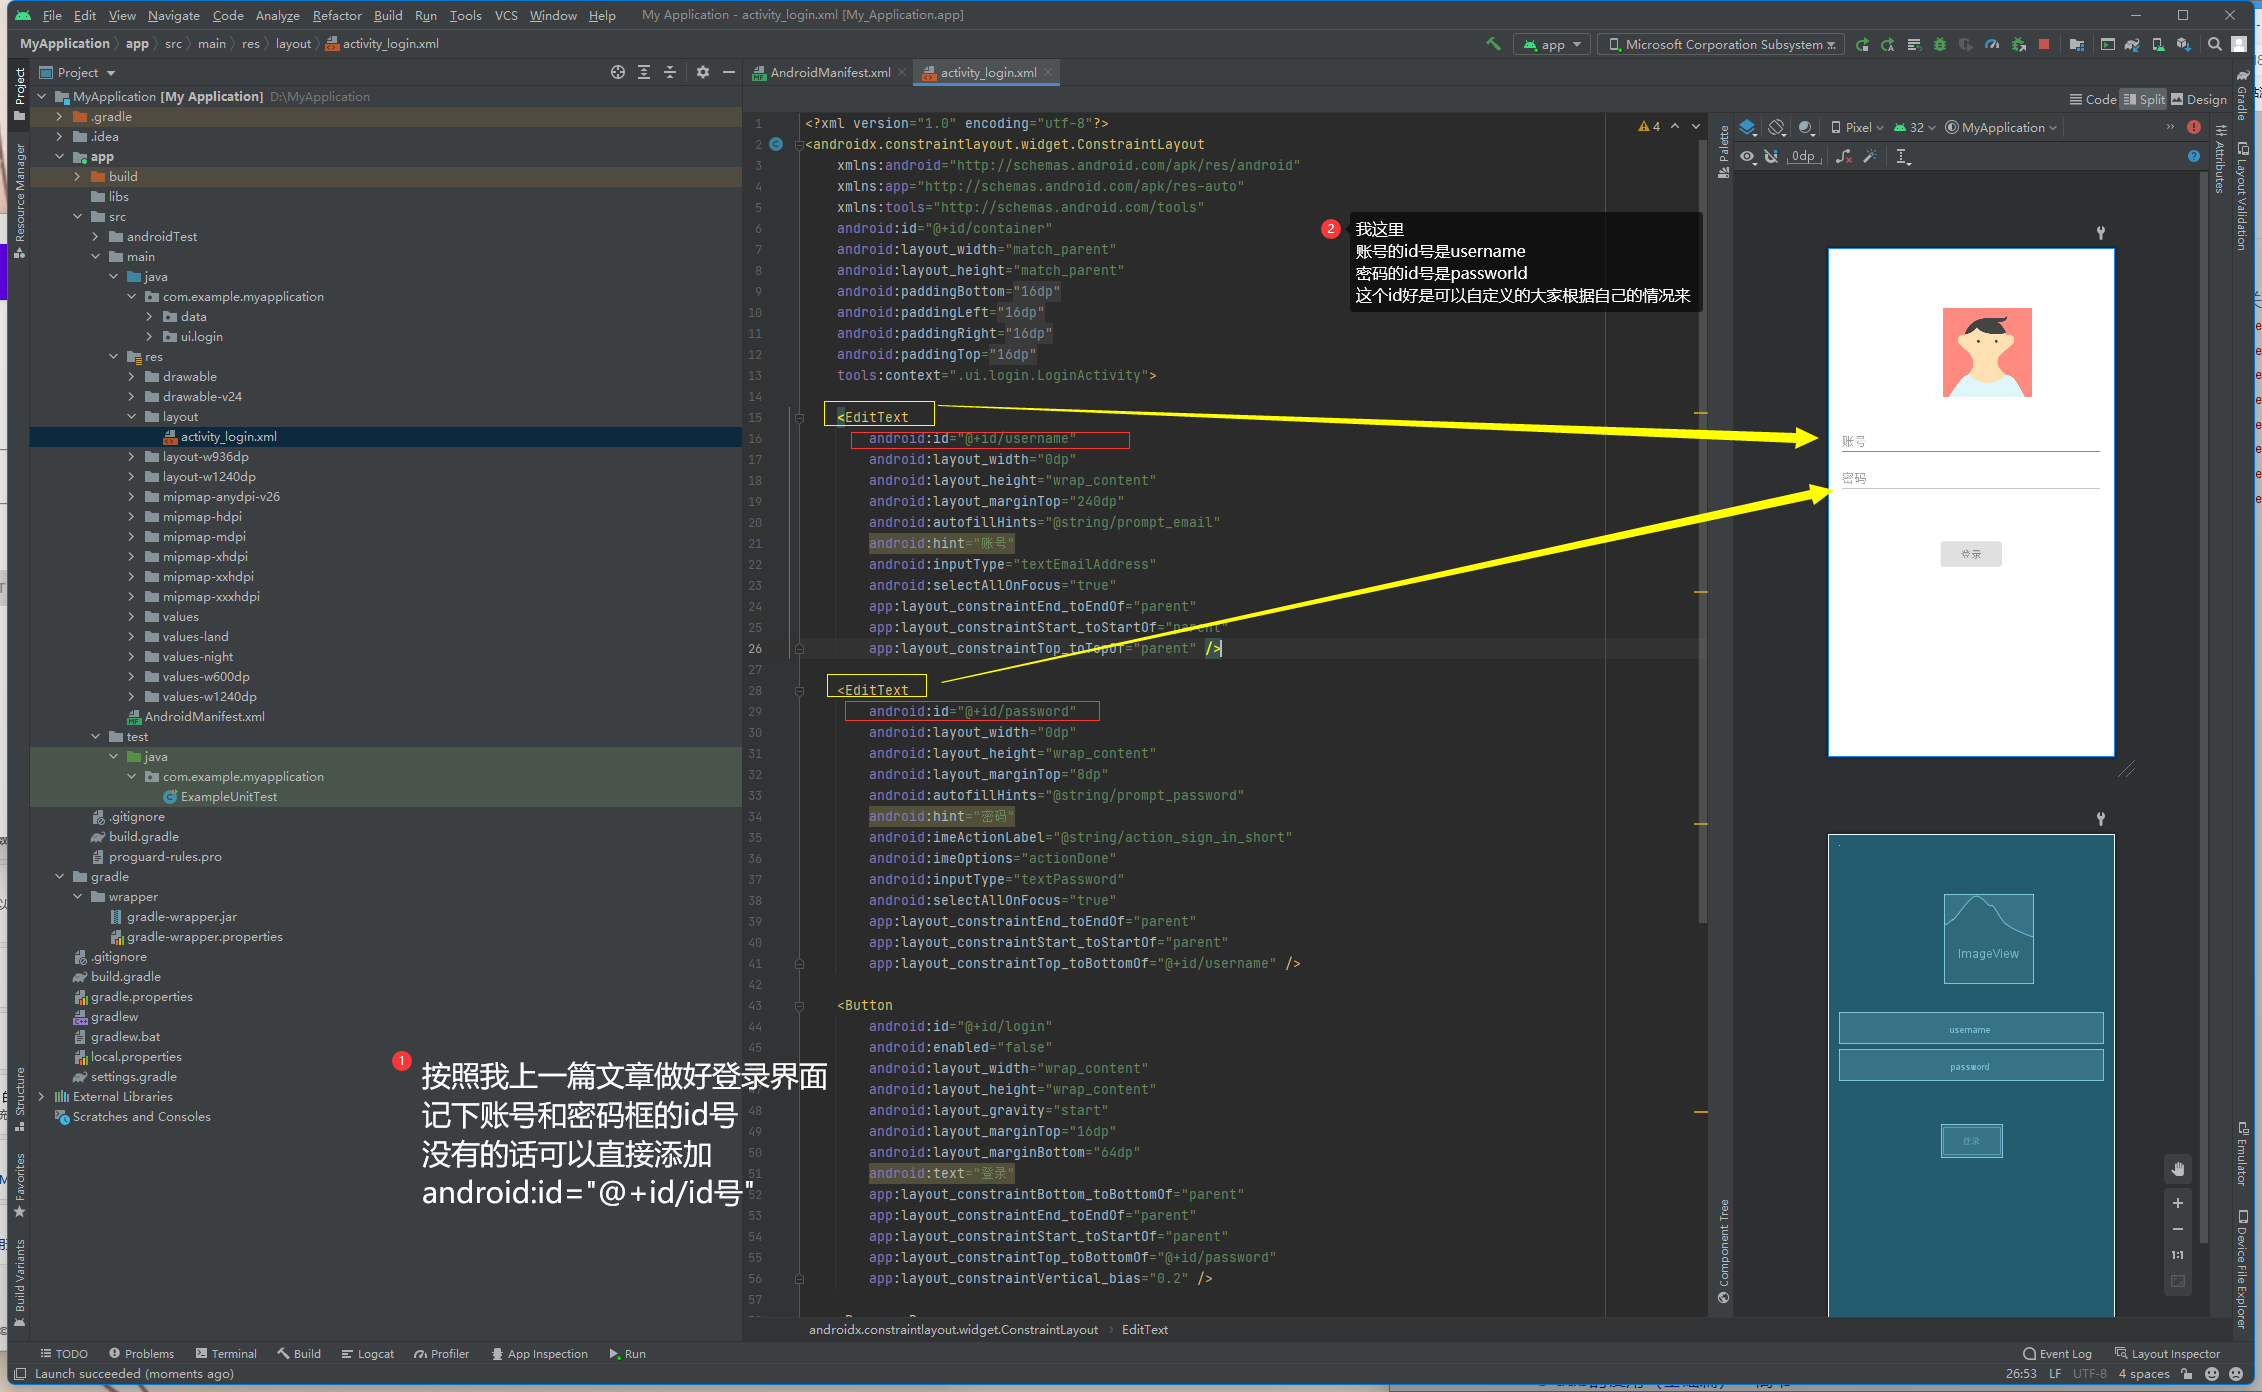
记一下 俩个文本框<TextView/> 和按钮<Button/>的id号 面要用到
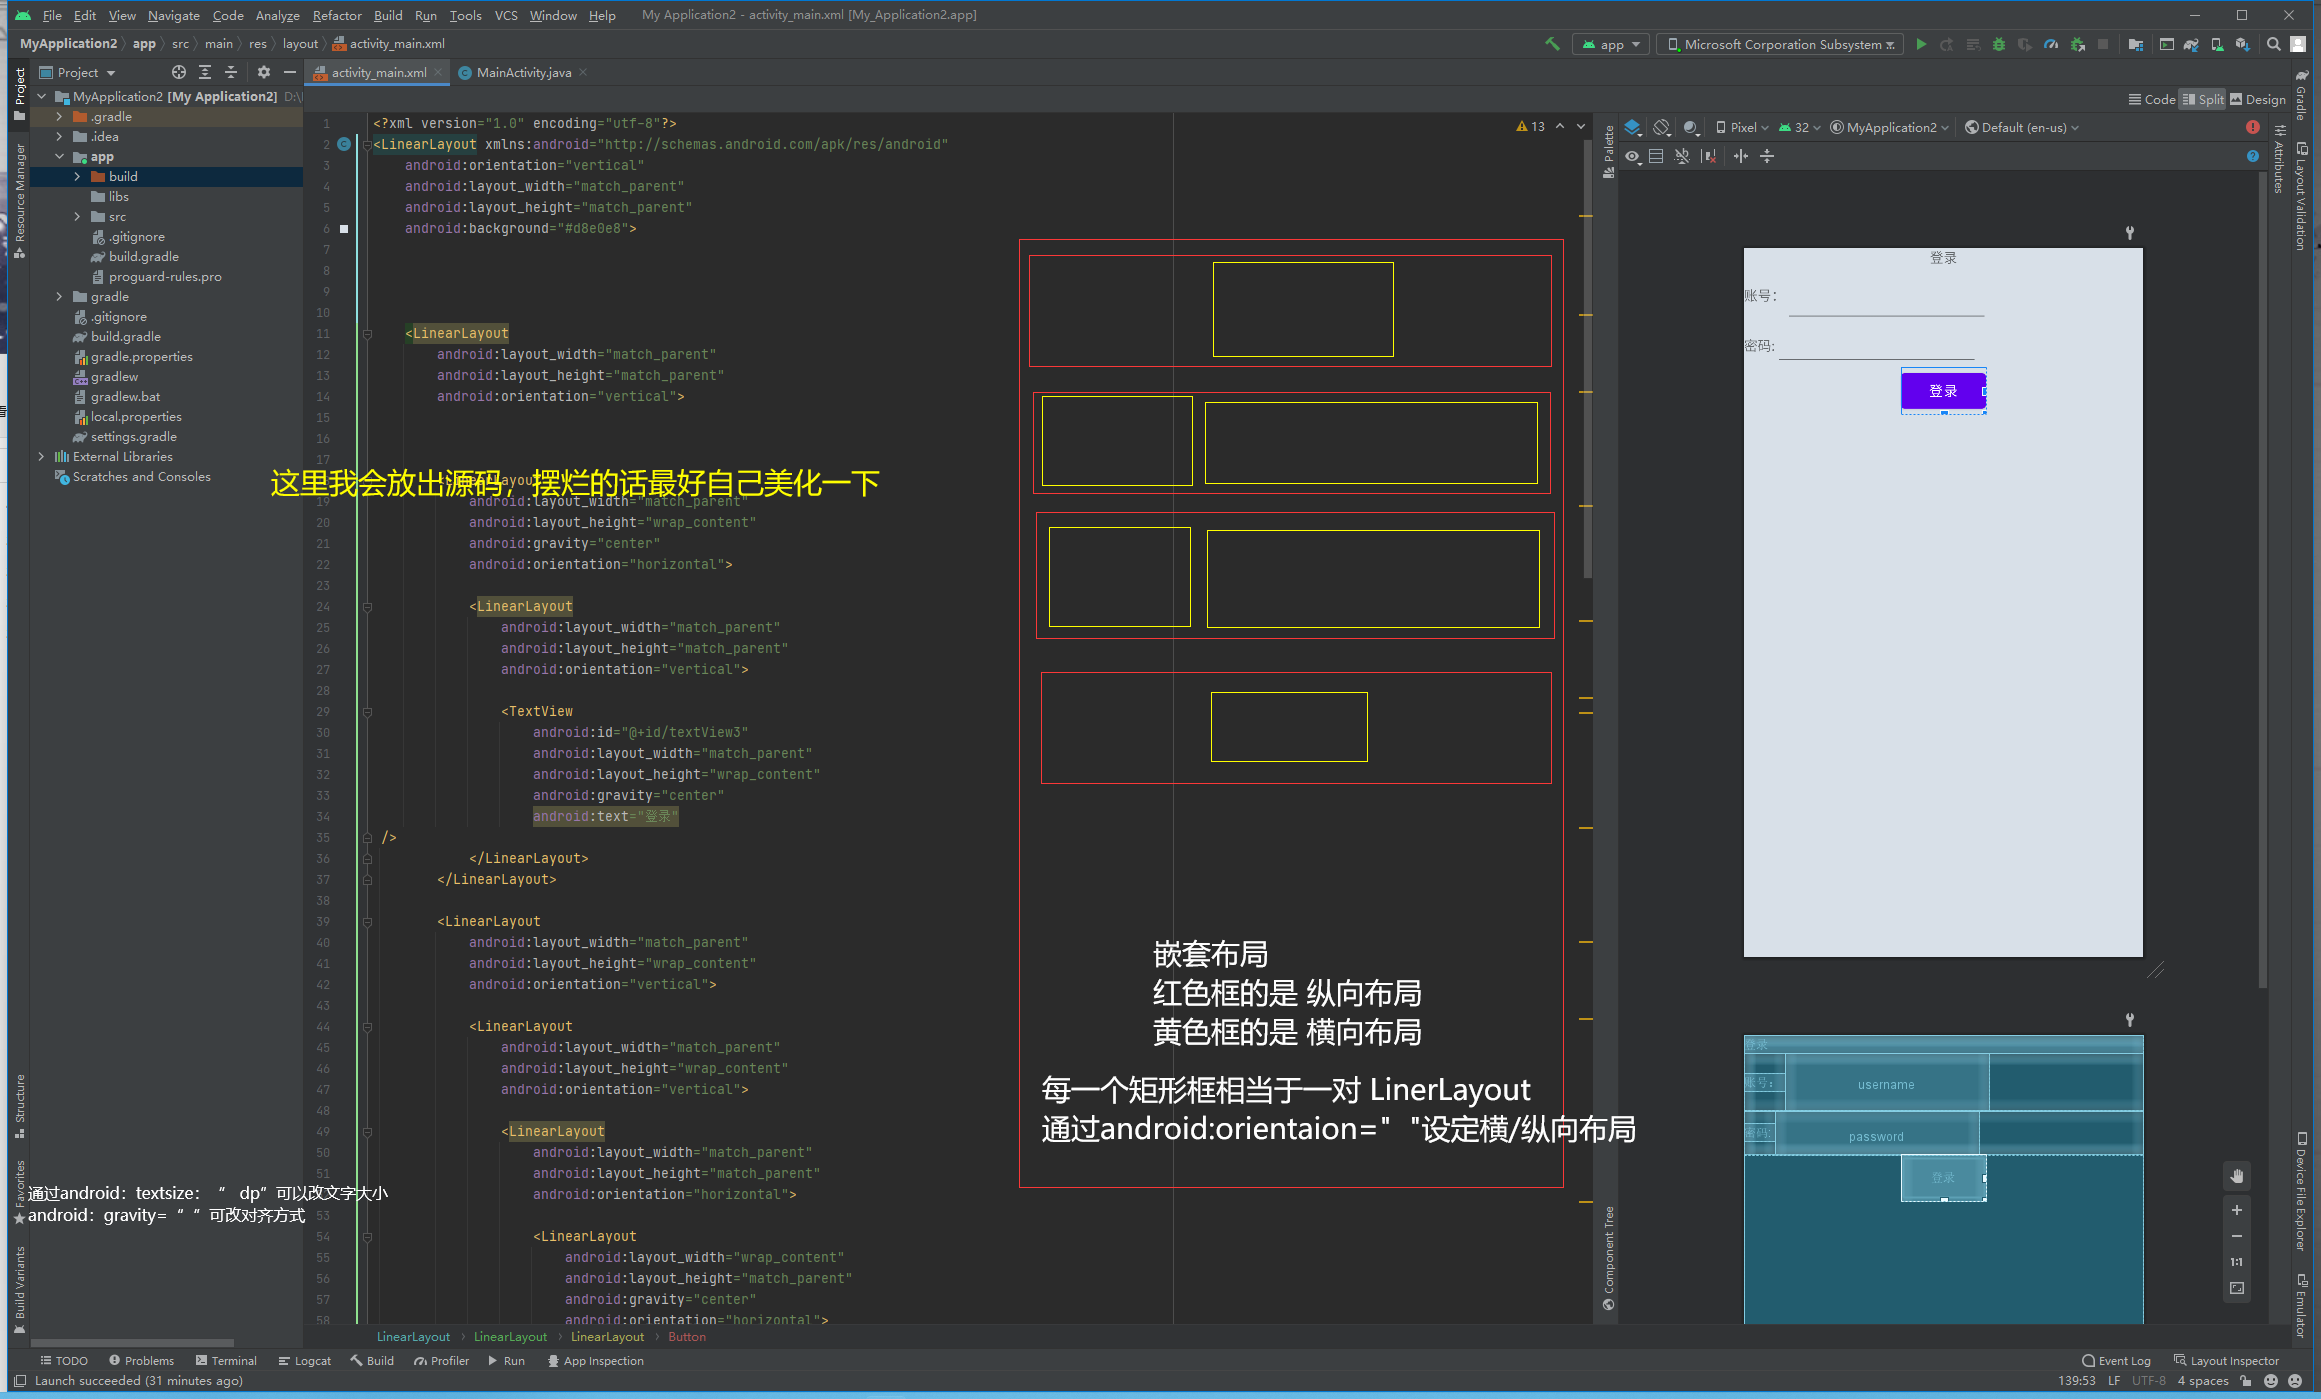
大概设计思路写在图里了,大家配合代码理解。
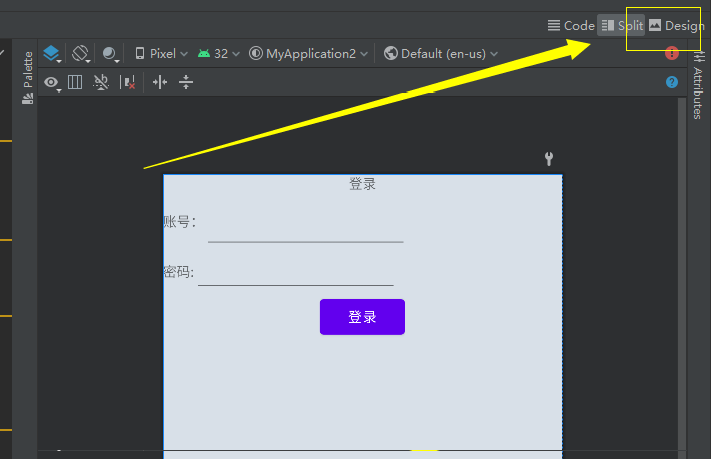
避免雷同,一定要自己改一点,实在不行的可以点Design按钮,图形化编程
<?xml version="1.0" encoding="utf-8"?>
<LinearLayout xmlns:android="http://schemas.android.com/apk/res/android"
    android:layout_width="match_parent"
    android:layout_height="match_parent"
    android:background="#d8e0e8"
    android:orientation="vertical">


    <LinearLayout
        android:layout_width="match_parent"
        android:layout_height="match_parent"
        android:orientation="vertical">


        <LinearLayout
            android:layout_width="match_parent"
            android:layout_height="wrap_content"
            android:gravity="center"
            android:orientation="horizontal">

            <LinearLayout
                android:layout_width="match_parent"
                android:layout_height="match_parent"
                android:orientation="vertical">

                <TextView
                    android:id="@+id/textView3"
                    android:layout_width="match_parent"
                    android:layout_height="wrap_content"
                    android:text="登录" />
            </LinearLayout>
        </LinearLayout>

        <LinearLayout
            android:layout_width="match_parent"
            android:layout_height="wrap_content"
            android:orientation="vertical">

            <LinearLayout
                android:layout_width="match_parent"
                android:layout_height="wrap_content"
                android:orientation="vertical">

                <LinearLayout
                    android:layout_width="match_parent"
                    android:layout_height="match_parent"
                    android:orientation="horizontal">

                    <LinearLayout
                        android:layout_width="wrap_content"
                        android:layout_height="match_parent"
                        android:gravity="center"
                        android:orientation="horizontal">

                        <TextView
                            android:id="@+id/textView8"
                            android:layout_width="match_parent"
                            android:layout_height="wrap_content"
                            android:text="账号:" />
                    </LinearLayout>

                    <LinearLayout
                        android:layout_width="wrap_content"
                        android:layout_height="match_parent"
                        android:gravity="center"
                        android:orientation="horizontal">

                        <EditText
                            android:id="@+id/username"
                            android:layout_width="wrap_content"
                            android:layout_height="match_parent"
                            android:layout_weight="1"
                            android:ems="10"
                            android:inputType="textPersonName"
                            android:text="" />
                    </LinearLayout>
                </LinearLayout>
            </LinearLayout>

            <LinearLayout
                android:layout_width="match_parent"
                android:layout_height="match_parent"
                android:orientation="vertical">

                <LinearLayout
                    android:layout_width="match_parent"
                    android:layout_height="match_parent"
                    android:orientation="horizontal">

                    <LinearLayout
                        android:layout_width="wrap_content"
                        android:layout_height="match_parent"
                        android:gravity="center"
                        android:orientation="horizontal">

                        <TextView
                            android:id="@+id/textView9"
                            android:layout_width="wrap_content"
                            android:layout_height="wrap_content"
                            android:text="密码:" />
                    </LinearLayout>

                    <LinearLayout
                        android:layout_width="wrap_content"
                        android:layout_height="match_parent"
                        android:gravity="center"
                        android:orientation="horizontal">

                        <EditText
                            android:id="@+id/password"
                            android:layout_width="wrap_content"
                            android:layout_height="wrap_content"
                            android:ems="10"
                            android:inputType="textPassword" />
                    </LinearLayout>
                </LinearLayout>
            </LinearLayout>
        </LinearLayout>


        <LinearLayout
            android:layout_width="wrap_content"
            android:layout_height="wrap_content"

            android:orientation="horizontal">

            <Button

                android:id="@+id/button1"
                android:layout_width="match_parent"
                android:layout_height="match_parent"
                android:text="登录" />

        </LinearLayout>

    </LinearLayout>


</LinearLayout>
到这里你已经完成一半了,布局文件已经写好了。可以先试着运行一下。
到AppCompatActivity.java文件编写程序
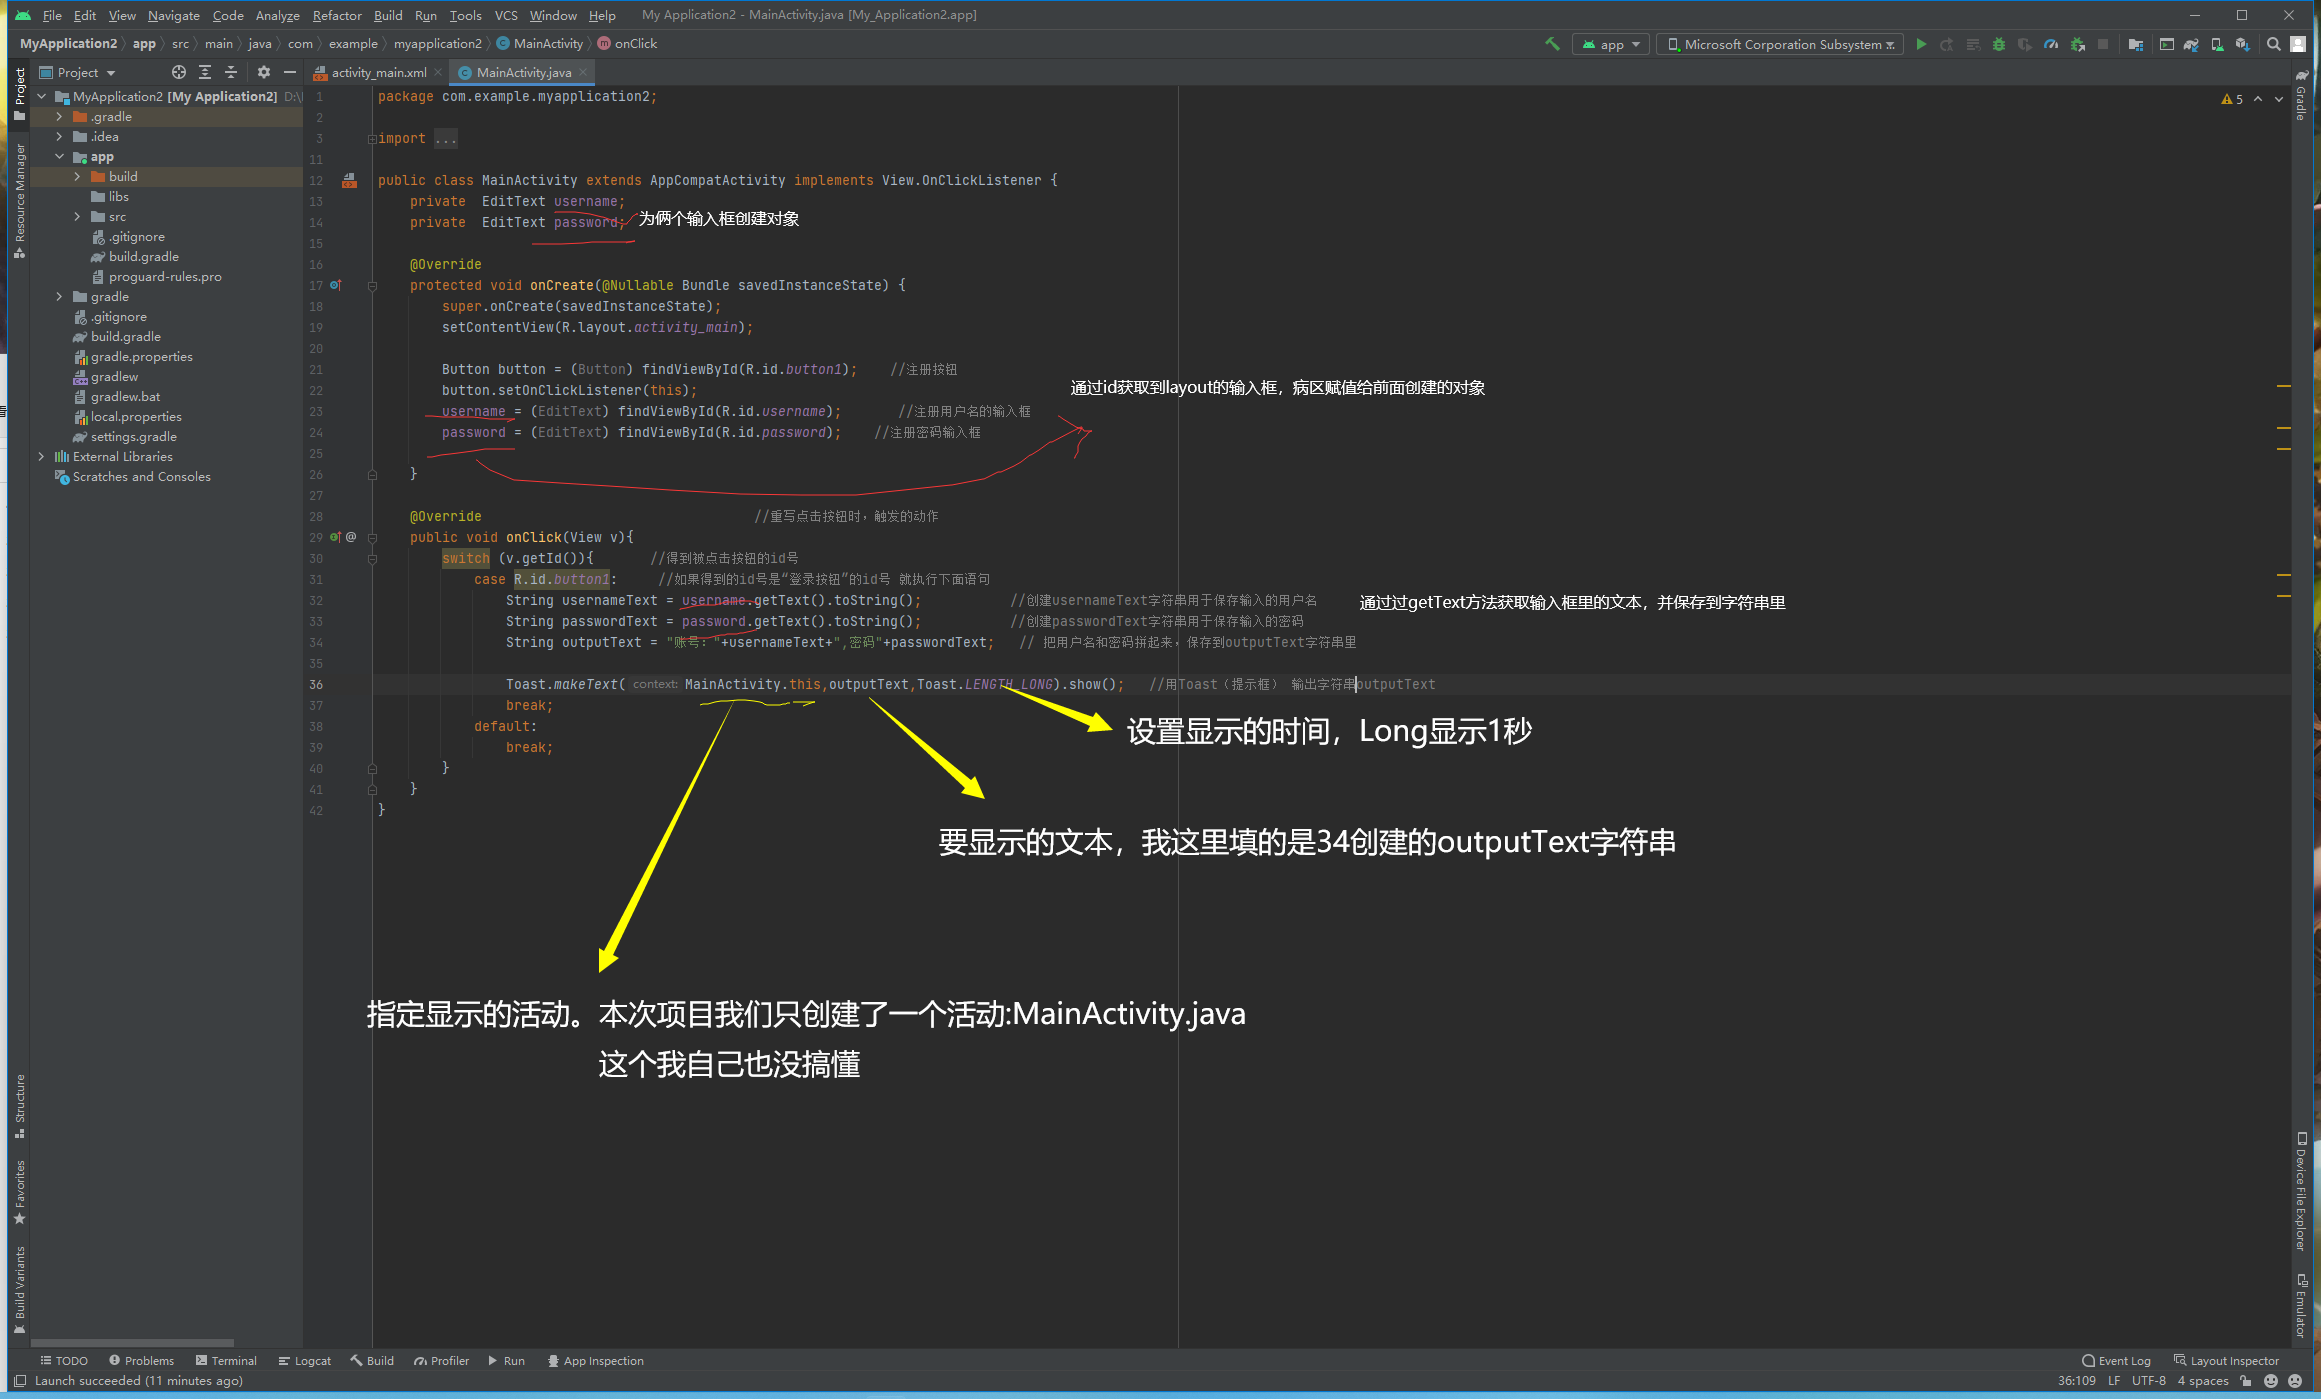
package com.example.myapplication2;

import androidx.annotation.Nullable;
import androidx.appcompat.app.AppCompatActivity;

import android.os.Bundle;
import android.view.View;
import android.widget.Button;
import android.widget.EditText;
import android.widget.Toast;

public class MainActivity extends AppCompatActivity implements View.OnClickListener {
    private  EditText username;
    private  EditText password;

    @Override
    protected void onCreate(@Nullable Bundle savedInstanceState) {
        super.onCreate(savedInstanceState);
        setContentView(R.layout.activity_main);

        Button button = (Button) findViewById(R.id.button1);    //注册按钮
        button.setOnClickListener(this);
        username = (EditText) findViewById(R.id.username);       //注册用户名的输入框
        password = (EditText) findViewById(R.id.password);    //注册密码输入框

    }

    @Override                                  //重写点击按钮时,触发的动作
    public void onClick(View v){
        switch (v.getId()){       //得到被点击按钮的id号
            case R.id.button1:     //如果得到的id号是“登录按钮”的id号 就执行下面语句
                String usernameText = username.getText().toString();           //创建usernameText字符串用于保存输入的用户名
                String passwordText = password.getText().toString();           //创建passwordText字符串用于保存输入的密码
                String outputText = "账号:"+usernameText+",密码"+passwordText;   // 把用户名和密码拼起来,保存到outputText字符串里

                Toast.makeText(MainActivity.this,outputText,Toast.LENGTH_LONG).show();   //用Toast(提示框) 输出字符串outputText
                break;
            default:
                break;
        }
    }
}
这里放上源代码, AppCompatActivity写完以后就能运行了。
